Post was updated on 12/17/2025.
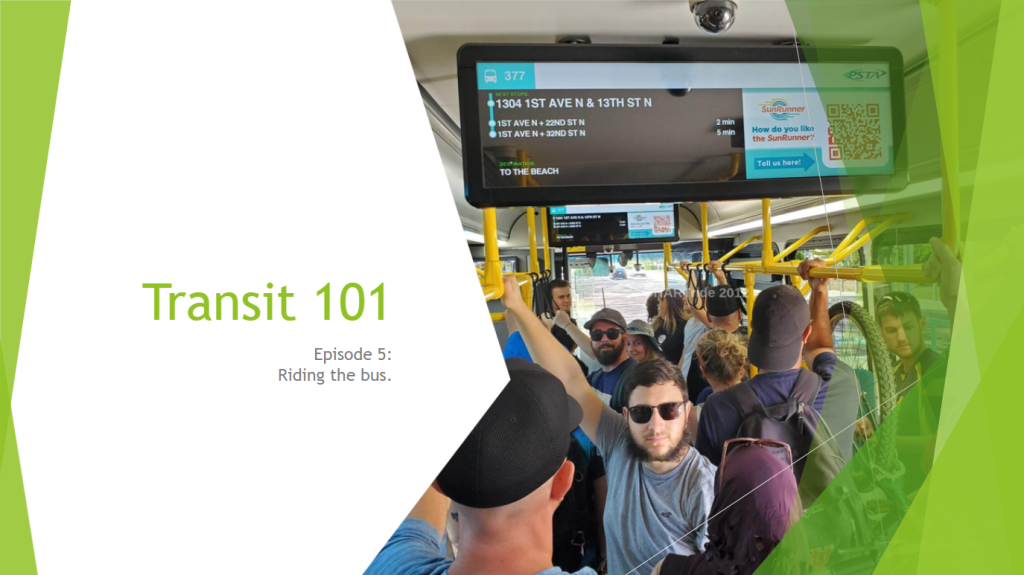
In this episode of Transit 101, I will explain how to get from A to B via bus. If you’re riding a public bus system for the first time, you may be intimidated. Don’t worry though, it’s not as hard as you may think. However, there’s a few key things you’ll want to follow before heading out to the bus stop.
- Have your origin & destination stops in mind. Or at least the closest landmarks or other points of interest that will help you get to where you need to go. Need to plan out your trip? Check out Episode 1.
- Allow enough time for departure & arrival. Ideally, you’ll want to get to your origin bus stop no later than 10 minutes prior to the scheduled departure. If your transit agency has a real-time transit tracker application, this can certainly help with knowing approximately what time your bus will arrive. Need help with understanding a transit schedule? Check out Episode 2.
- Have your fare ready – whether it be exact change (cash), a pre-purchased mag-swipe card, tap-and-go card, or mobile fare payment application. Having your fare ready prior to the bus arriving at your stop allows for faster boarding & reduces the chance of the bus operator running behind schedule. Need to know more about transit fares & how to pay? Check out Episode 3.
- Bringing your bike with you? Check out Episode 4.
Heading to the origin bus stop
Once you’ve been able to locate your starting bus route & where the nearest bus stop for that route & direction are located, you’ll want to leave promptly when it is time to do so in order to allow enough time to catch the bus. While everyone has a different way of getting to & from their respective bus stops – including by bike, weather conditions & other unforeseen circumstances may make your journey more difficult.
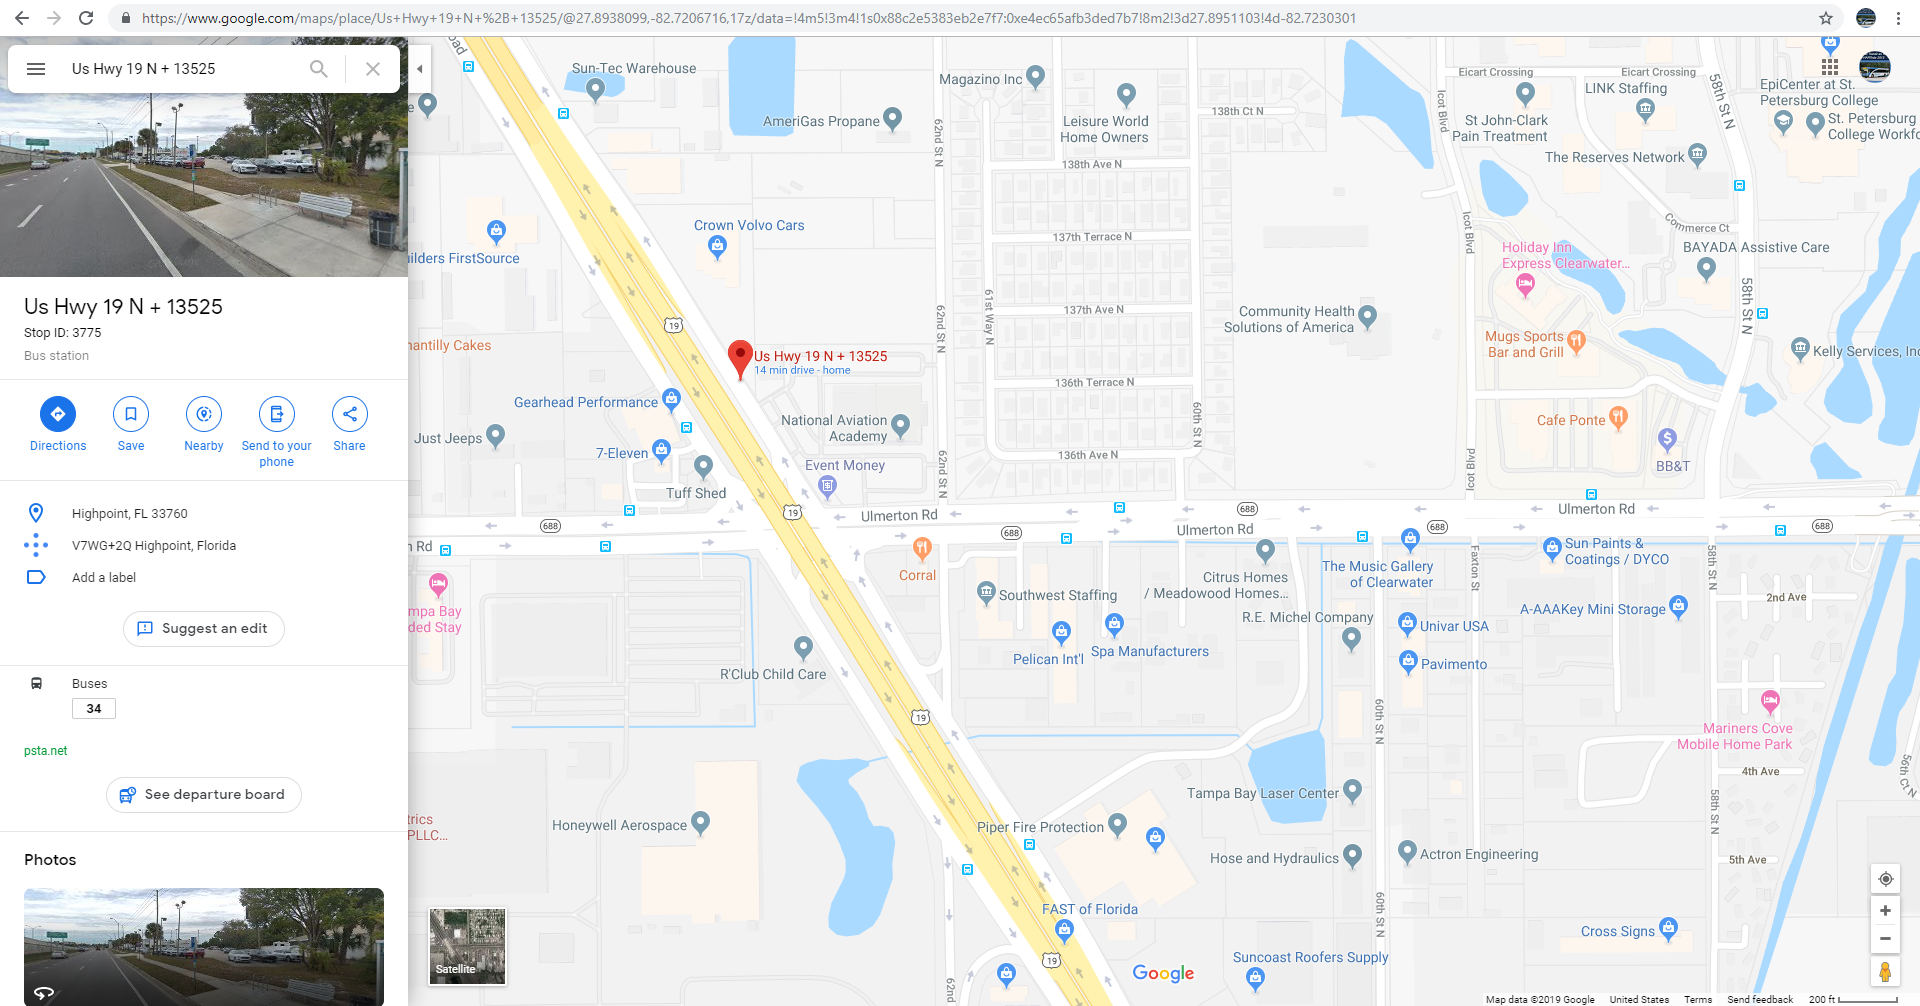
For example, let’s say you’re catching Pinellas Suncoast Transit Authority (PSTA) Route 52 northbound from the stop at 62nd Ave N & 49th St N in Pinellas Park, FL, but your residence is about a 20 minute walk from the west. You want to catch the bus that is predicted to arrive at about 10:24am. This means you’ll want to be at the respective bus stop no later than about 10:14am. So try to leave your residence no later than 9:45am in this case so that you have enough time to get to your stop. For me, I tend to walk faster than others, but if you’re not a generally fast walker, or have mobility issues, then you’ll want to allow additional time as it pertains to your normal pace of travel.
Locating the bus stop
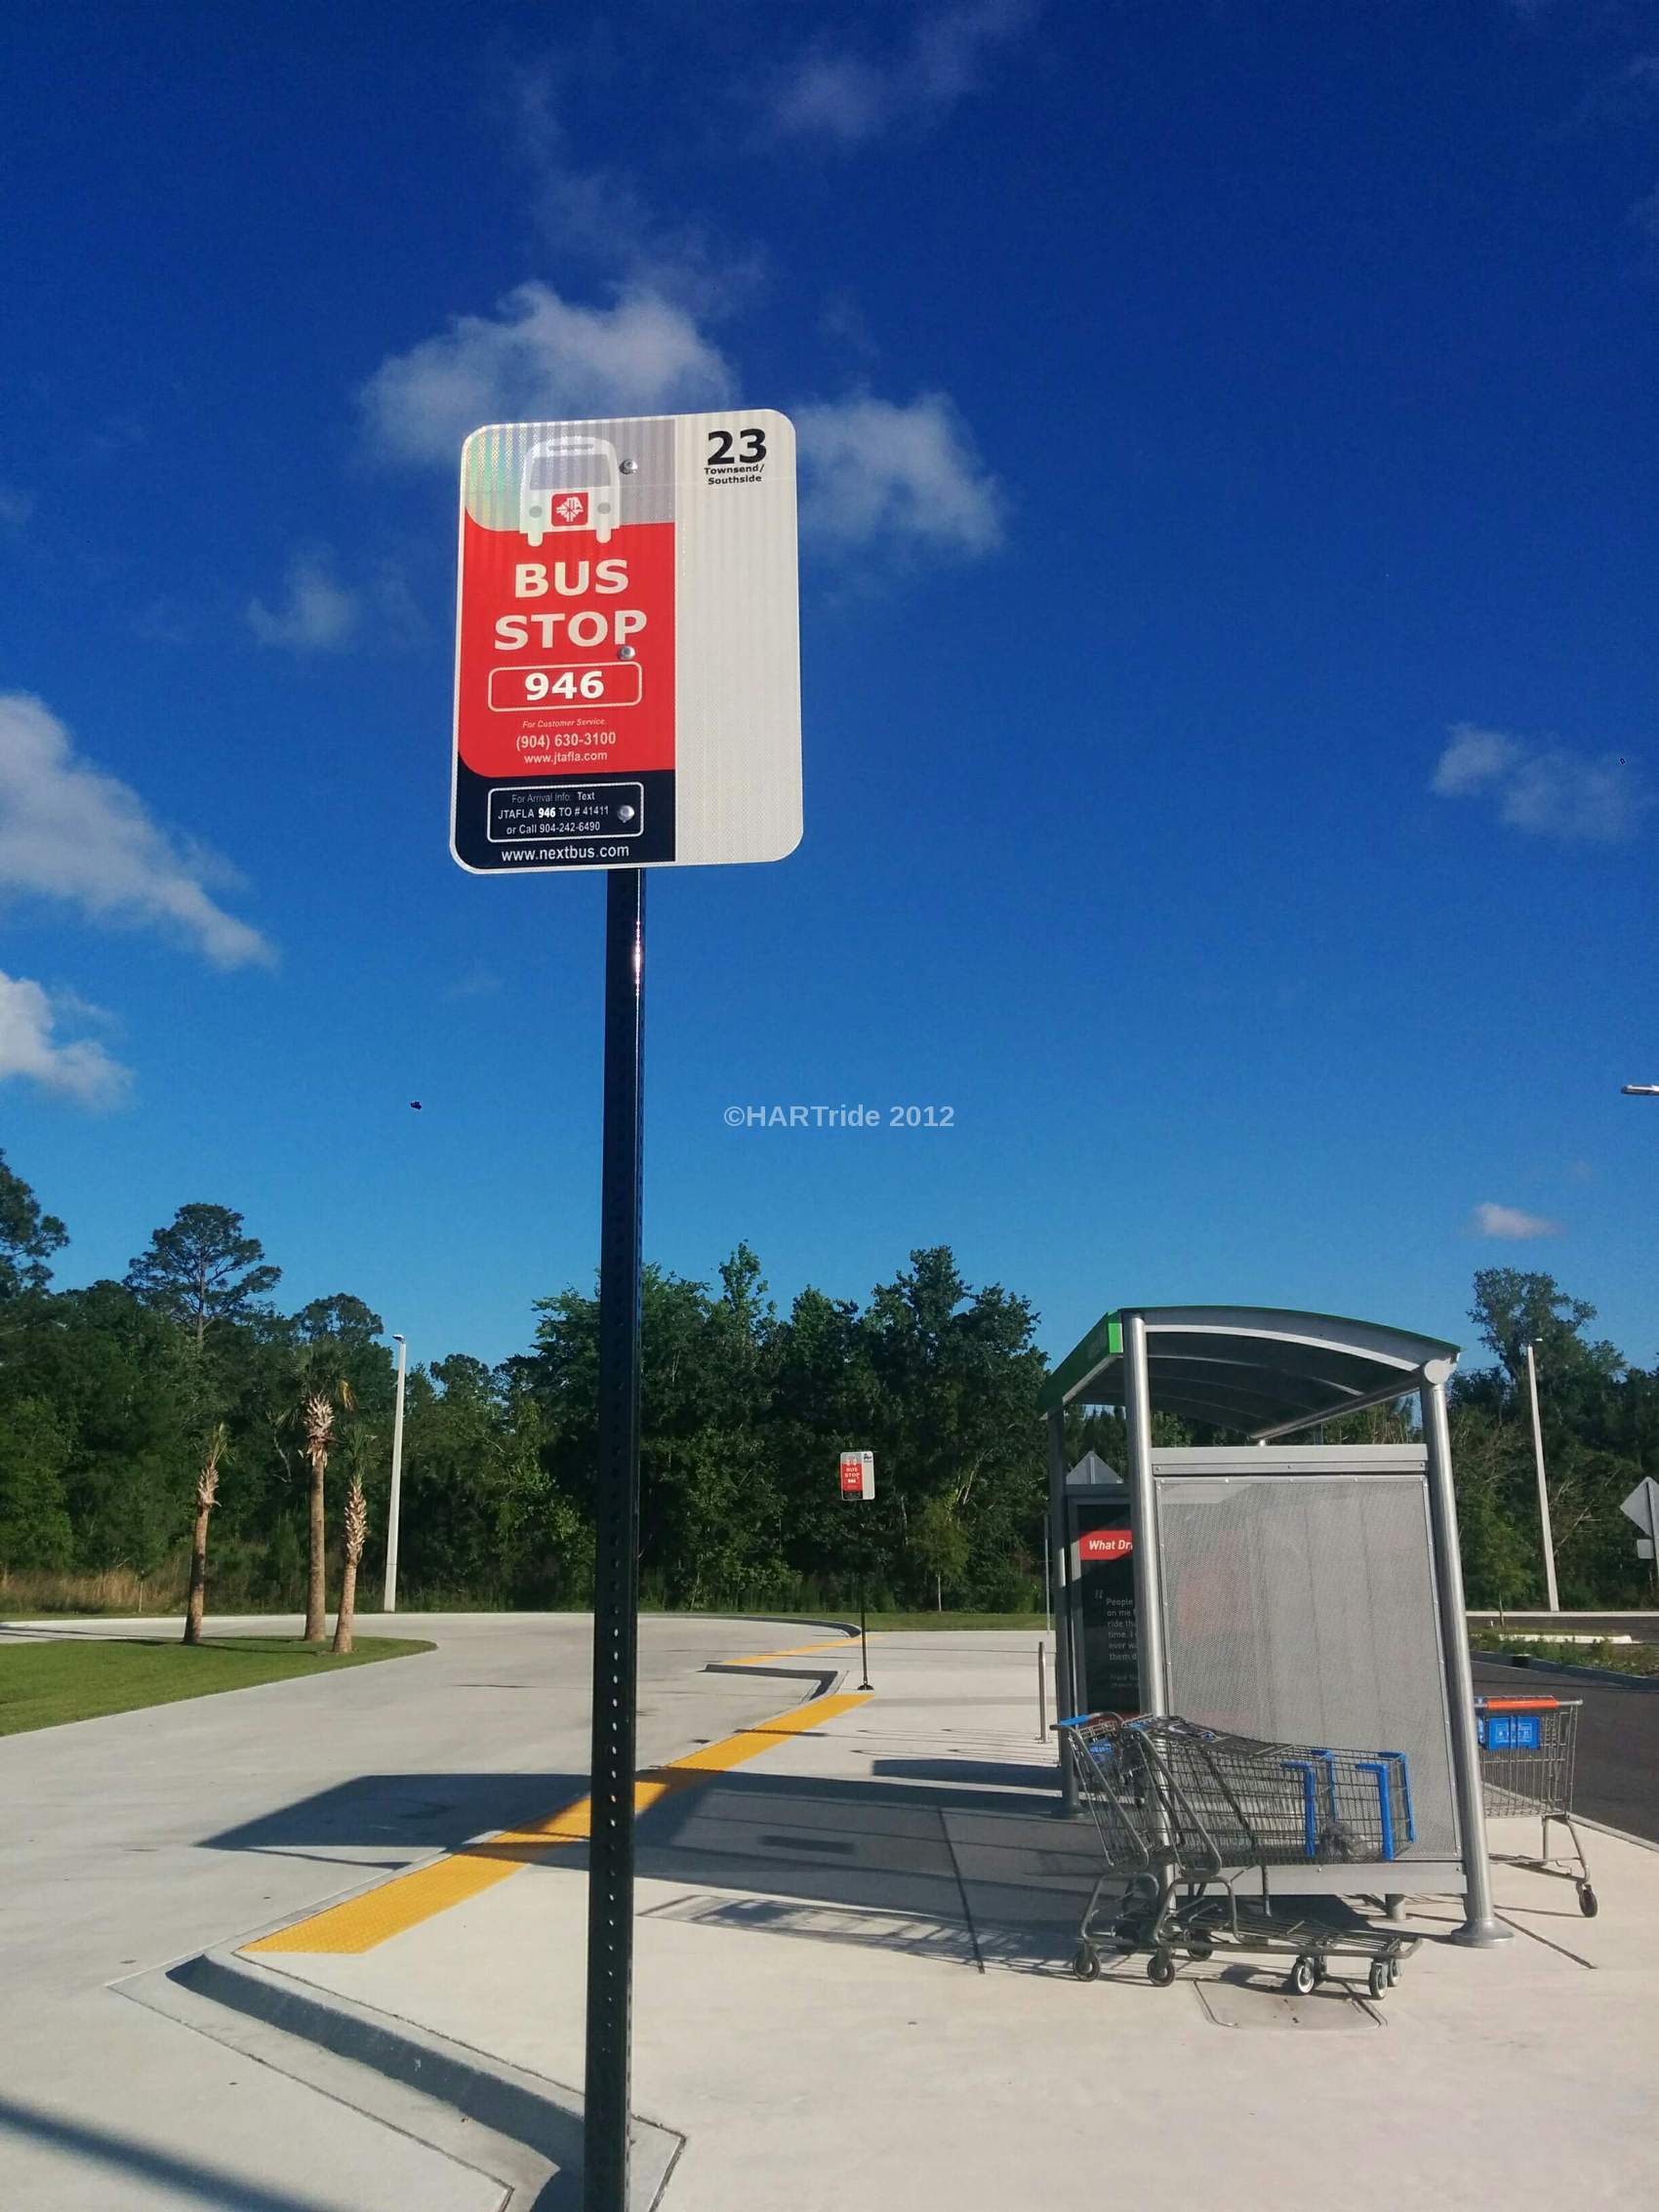
Locating your respective origin bus stop can sometimes be challenging, because not all stops look the same. Some stops can be distinguished by a simple concrete pad or a sidewalk with a designated bus stop sign (like the one above), while others will have the designated sign – along with a bench or even a covered shelter. It is very important though that you see the designated sign, as in most cases, the bus operator will only serve a bus stop with the designated sign posted at the location.
You sometimes may see stray benches on the side of the road with no bus stop sign to be found. Often times, this is the case because a bus route no longer travels through the area or stops have been moved or consolidated. The benches themselves may not belong to the transit agency, but rather a third party, and thus you should not solely rely on looking for the bench. Always look for the designated bus stop sign first.
Once you’ve found the bus stop sign, carefully look at which route it serves. You always want to make sure that you’re catching the correct route. Once you’ve confirmed that this is your stop, simply wait for the bus to arrive.
Note: If your transit agency has a real-time tracking application, you may have the ability to type in the designated bus stop ID number located on the bus stop sign. This will pinpoint your location in relation to the bus route & vehicle that you wish to catch.
Preparing to board
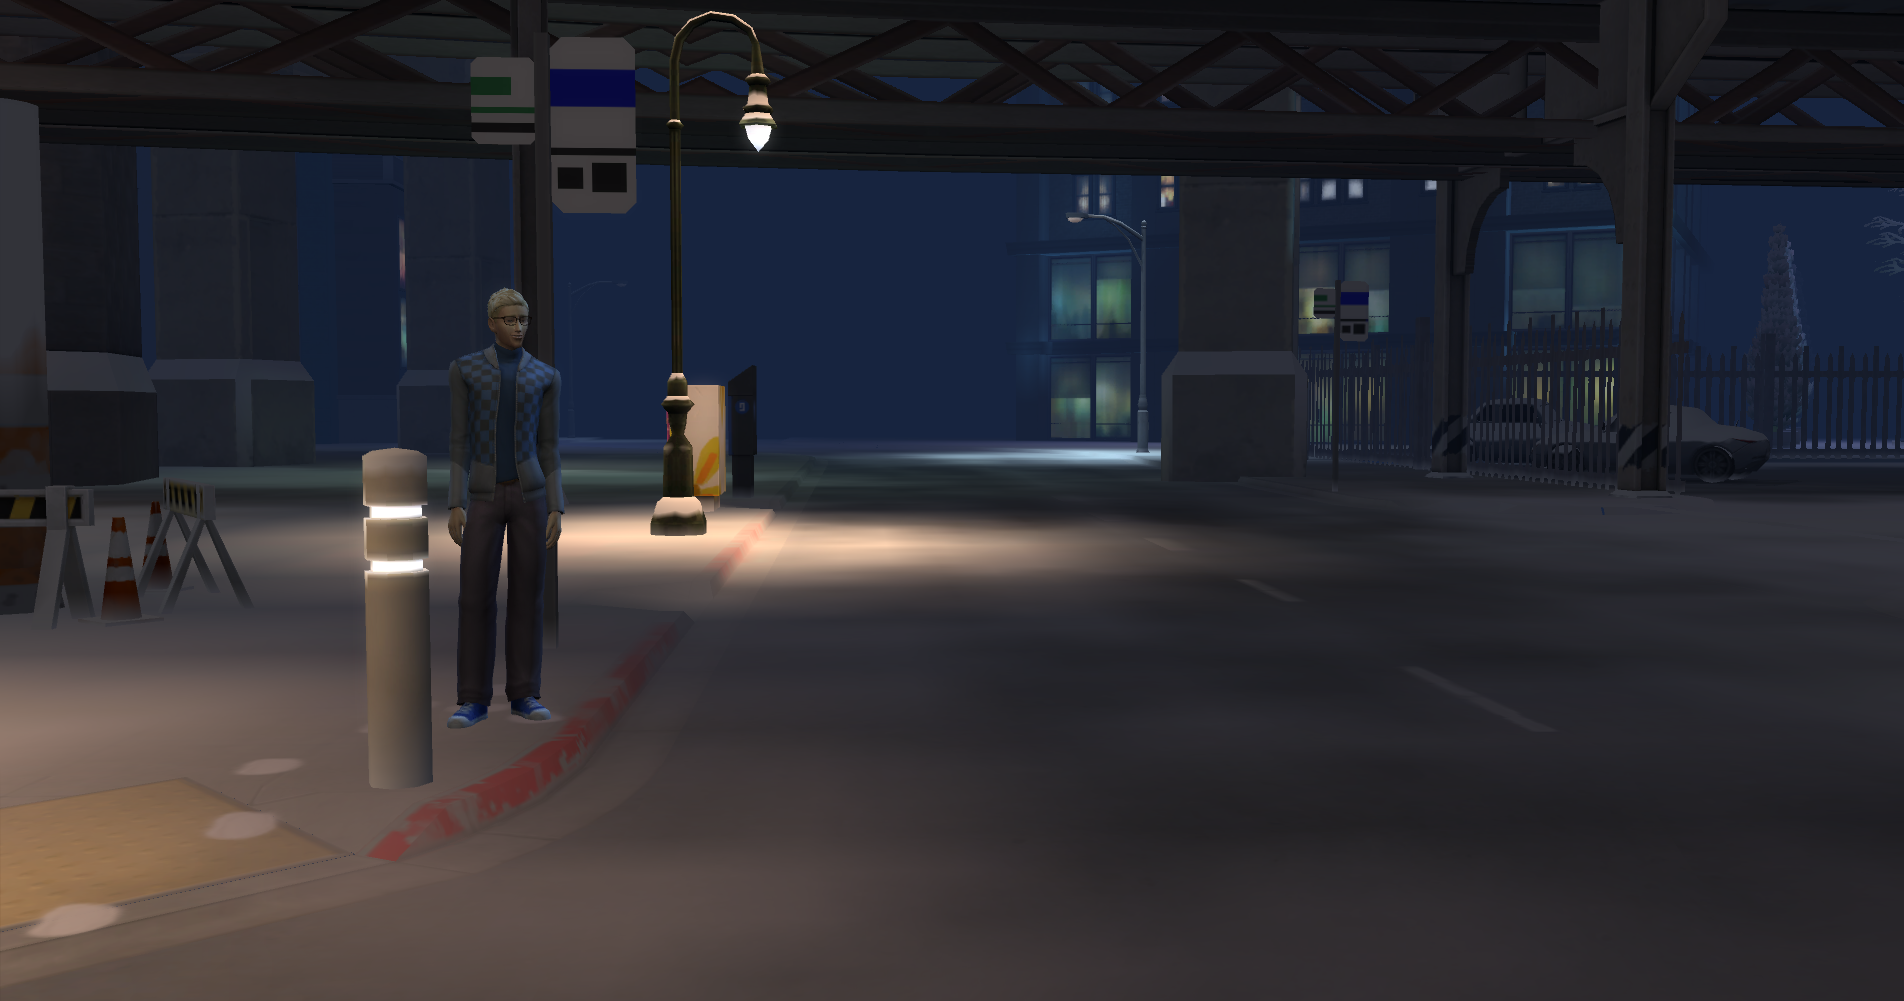
Image created by HARTride 2012 – Created with The Sims 4.
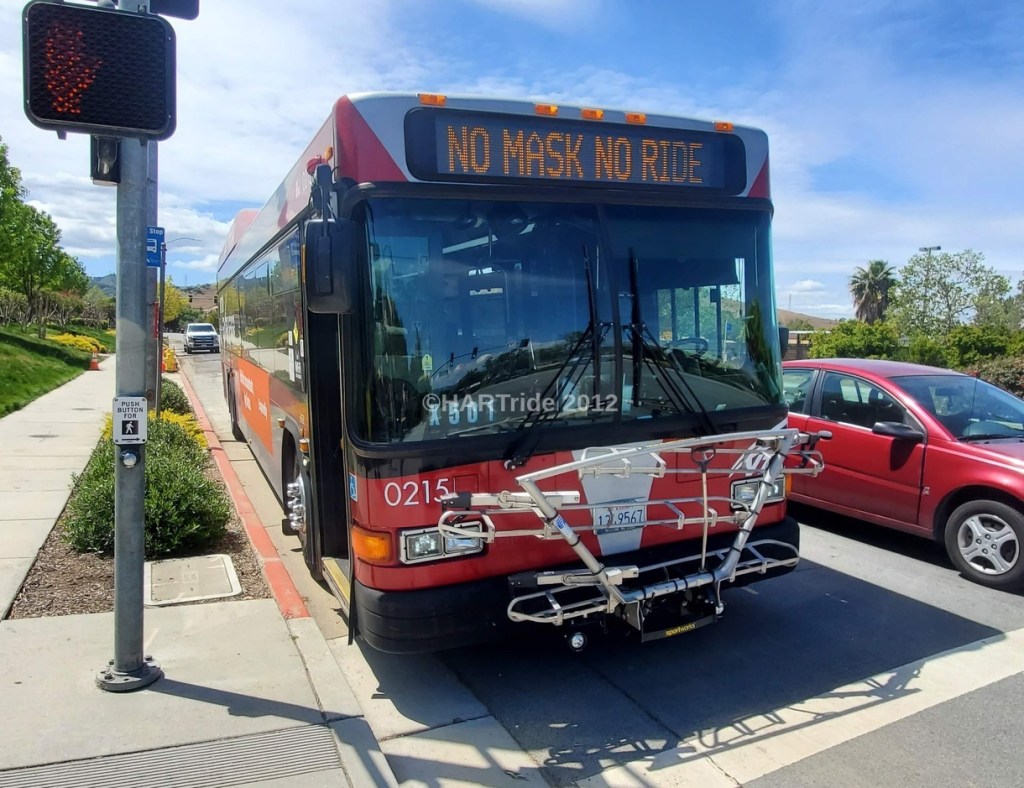
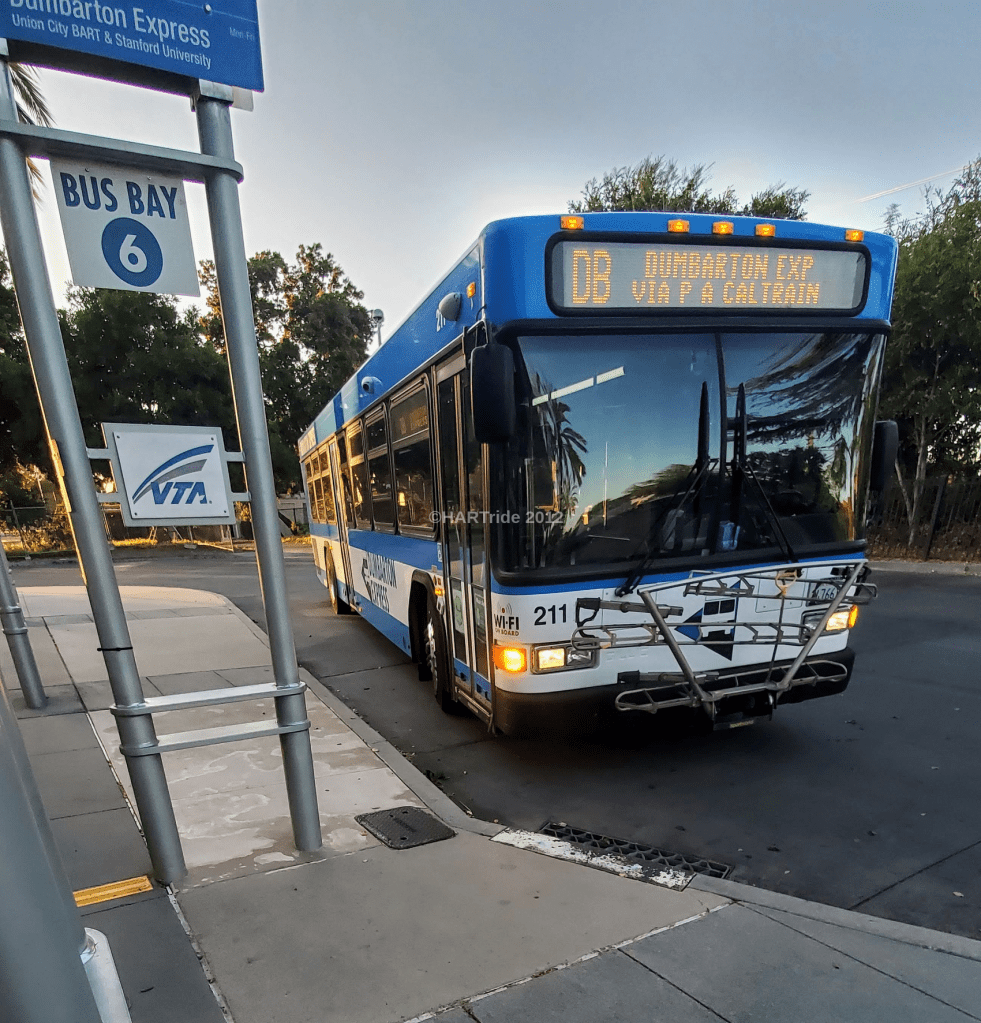
As the bus approaches your stop, you’ll want to step close to the curb, next to the bus stop sign and be prepared to board (please have your fare ready at this point for payment). To ensure that you’re boarding the correct bus, pay close attention to the headsign above the windshield. Many transit agencies have electronic (LED) headsigns that digitally display the route number (typically on the left side of the sign) and the destination. Some smaller agencies may rely on placards to show this information & such may be displayed in the windshield or along the side of the vehicle.
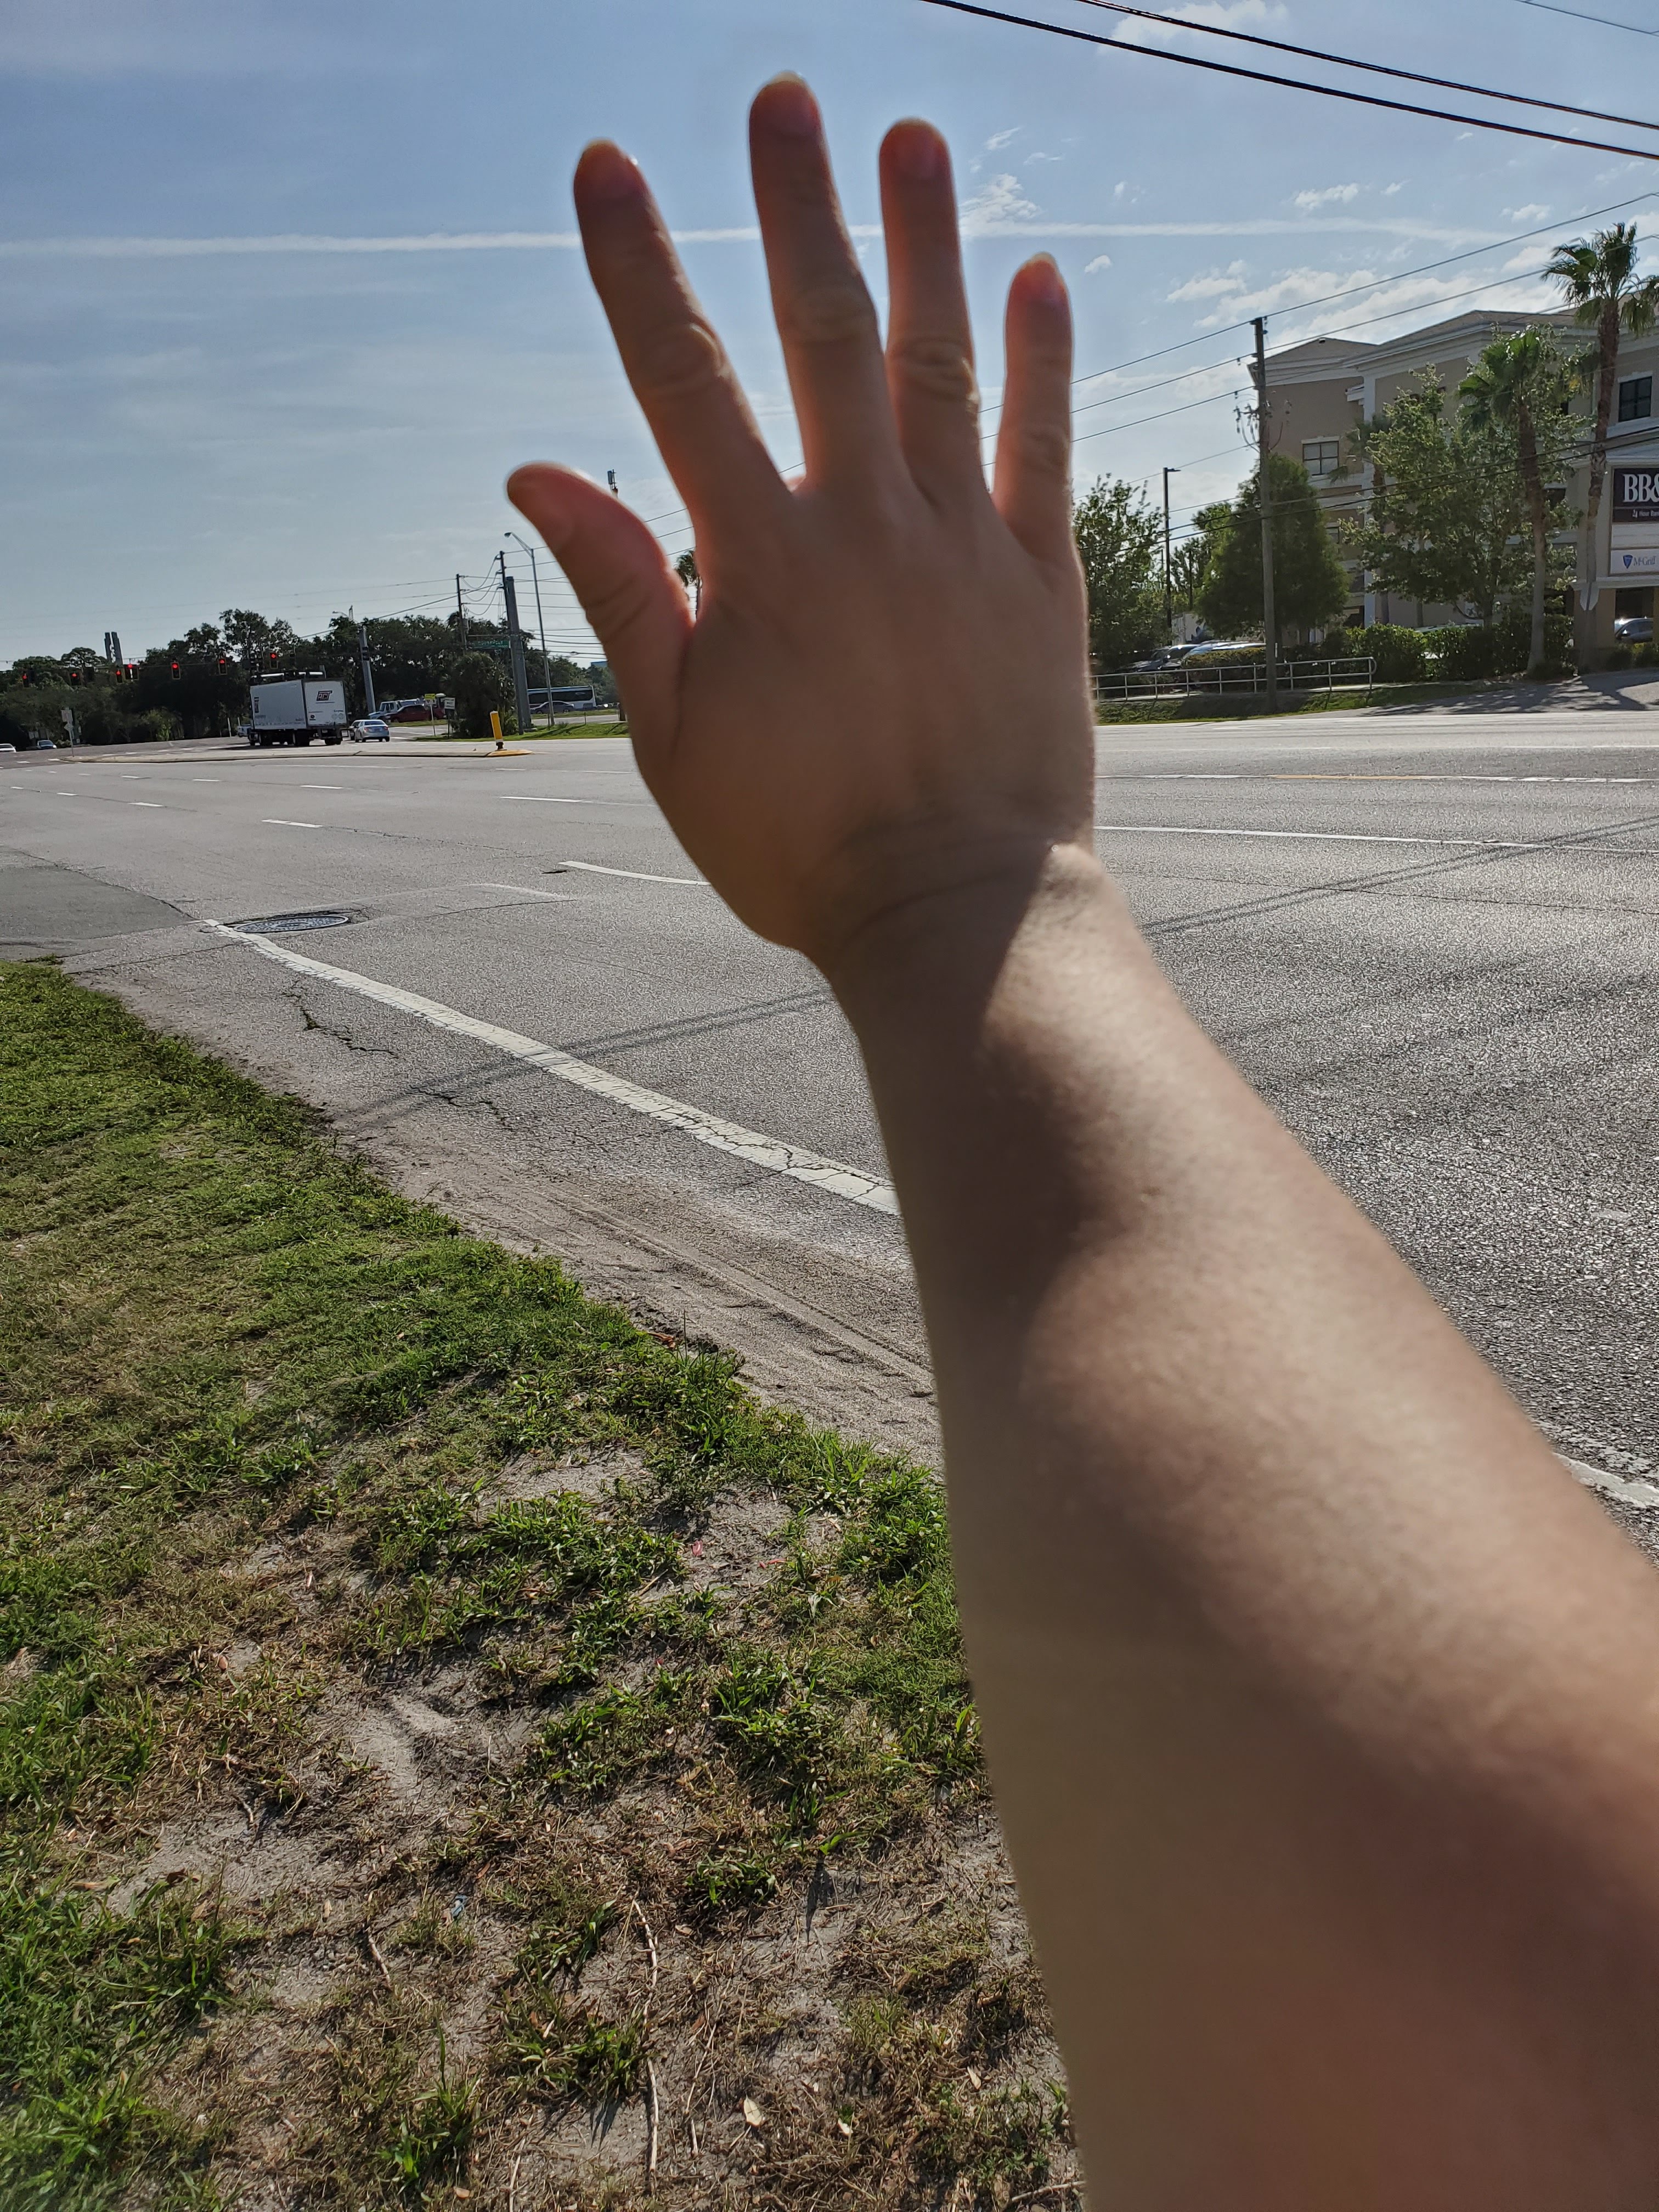
If you see that this is the bus that you want, simply motion to the bus operator (I typically hold my right arm and hand up to signal to the operator) to stop.
Now of course, if the bus that is approaching isn’t the one you need to board, step away from the curb and signal to the bus operator to continue along the route (I typically use my left arm to motion left-to-right repeatedly to indicate to the operate that “you’re not the bus I want to catch, keep going please). See the video below for an example.
During early morning or late evening hours – when it is dark outside, it’s helpful to wear bright clothing, as well as to carry a flash light or use the screen lighting from your cell phone to signal to the operator that you wish to board. If you’re using a flash light, please be careful not to shine the light directly towards the operator.
Once you’ve flagged down the bus that you need, just hop aboard…
Once on board

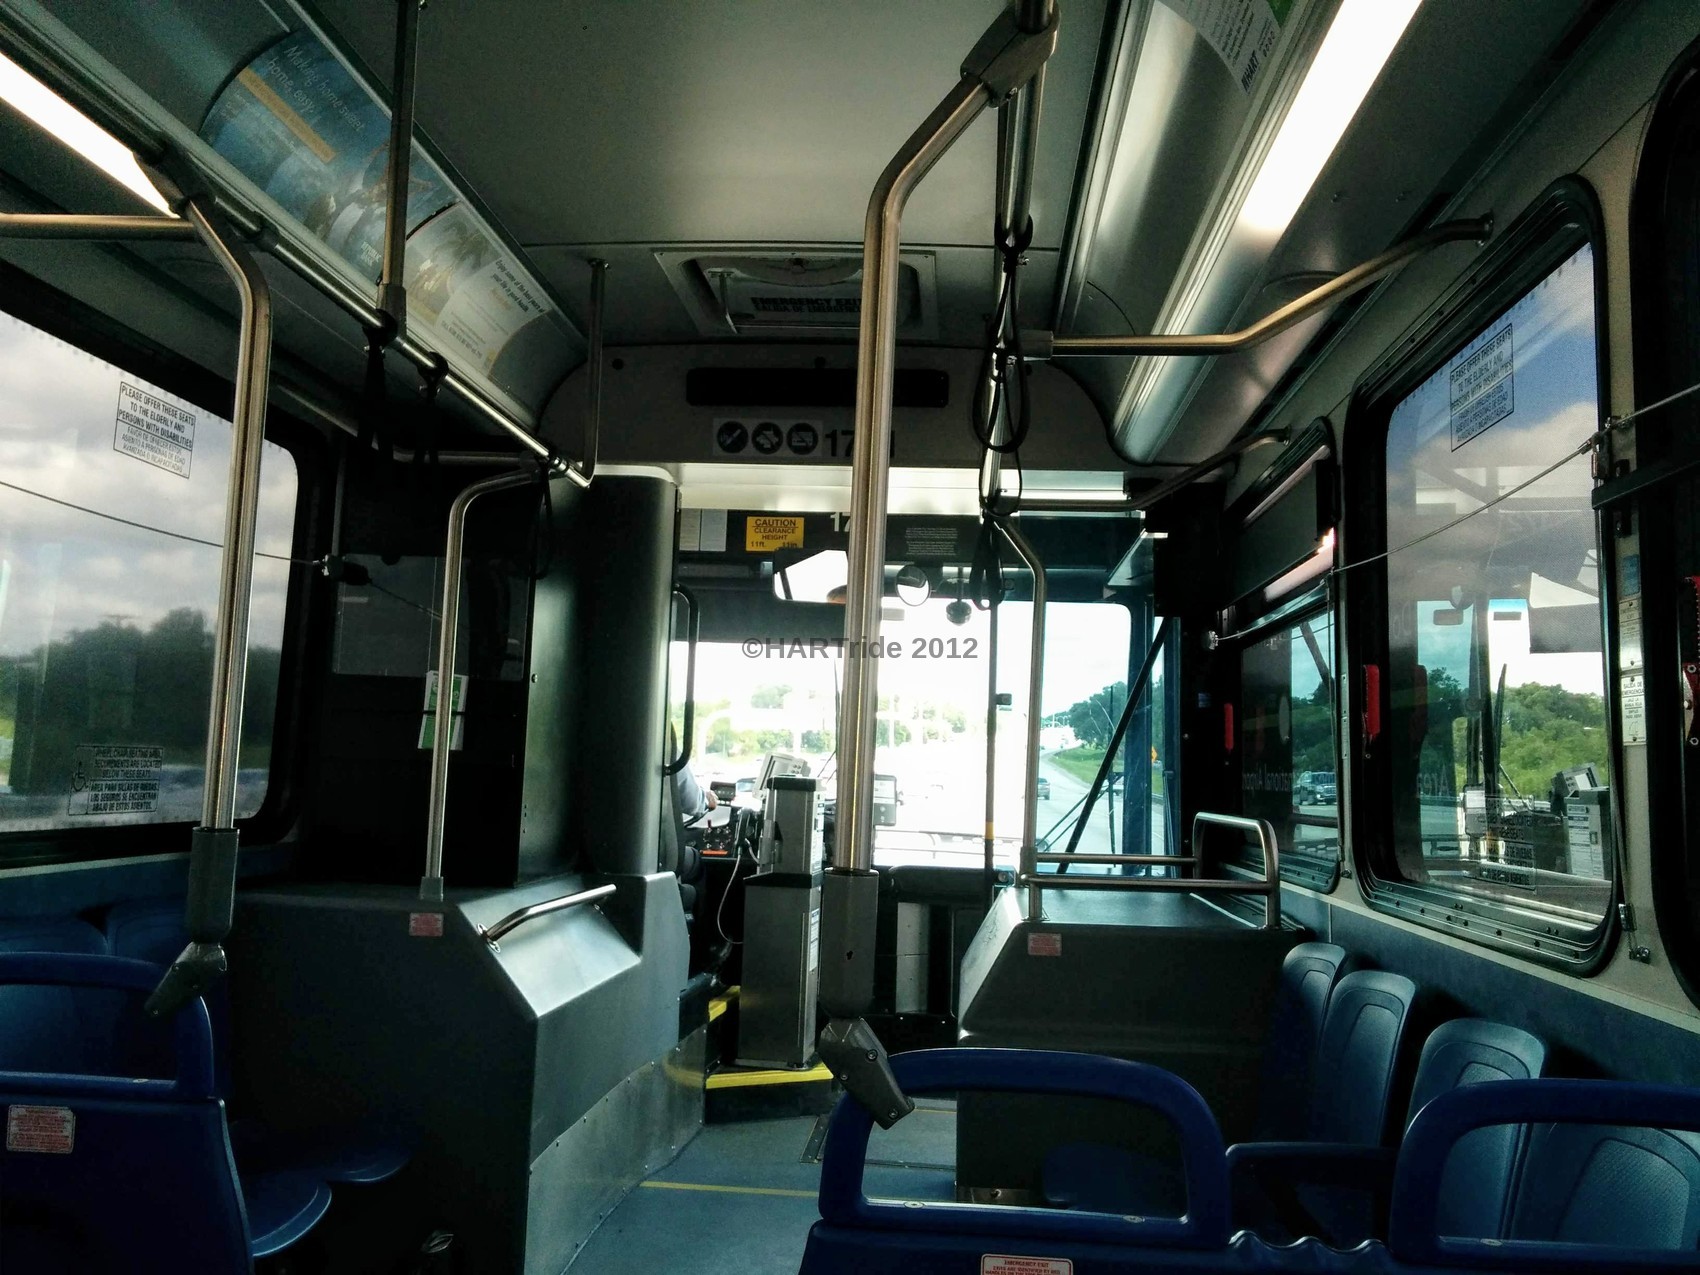
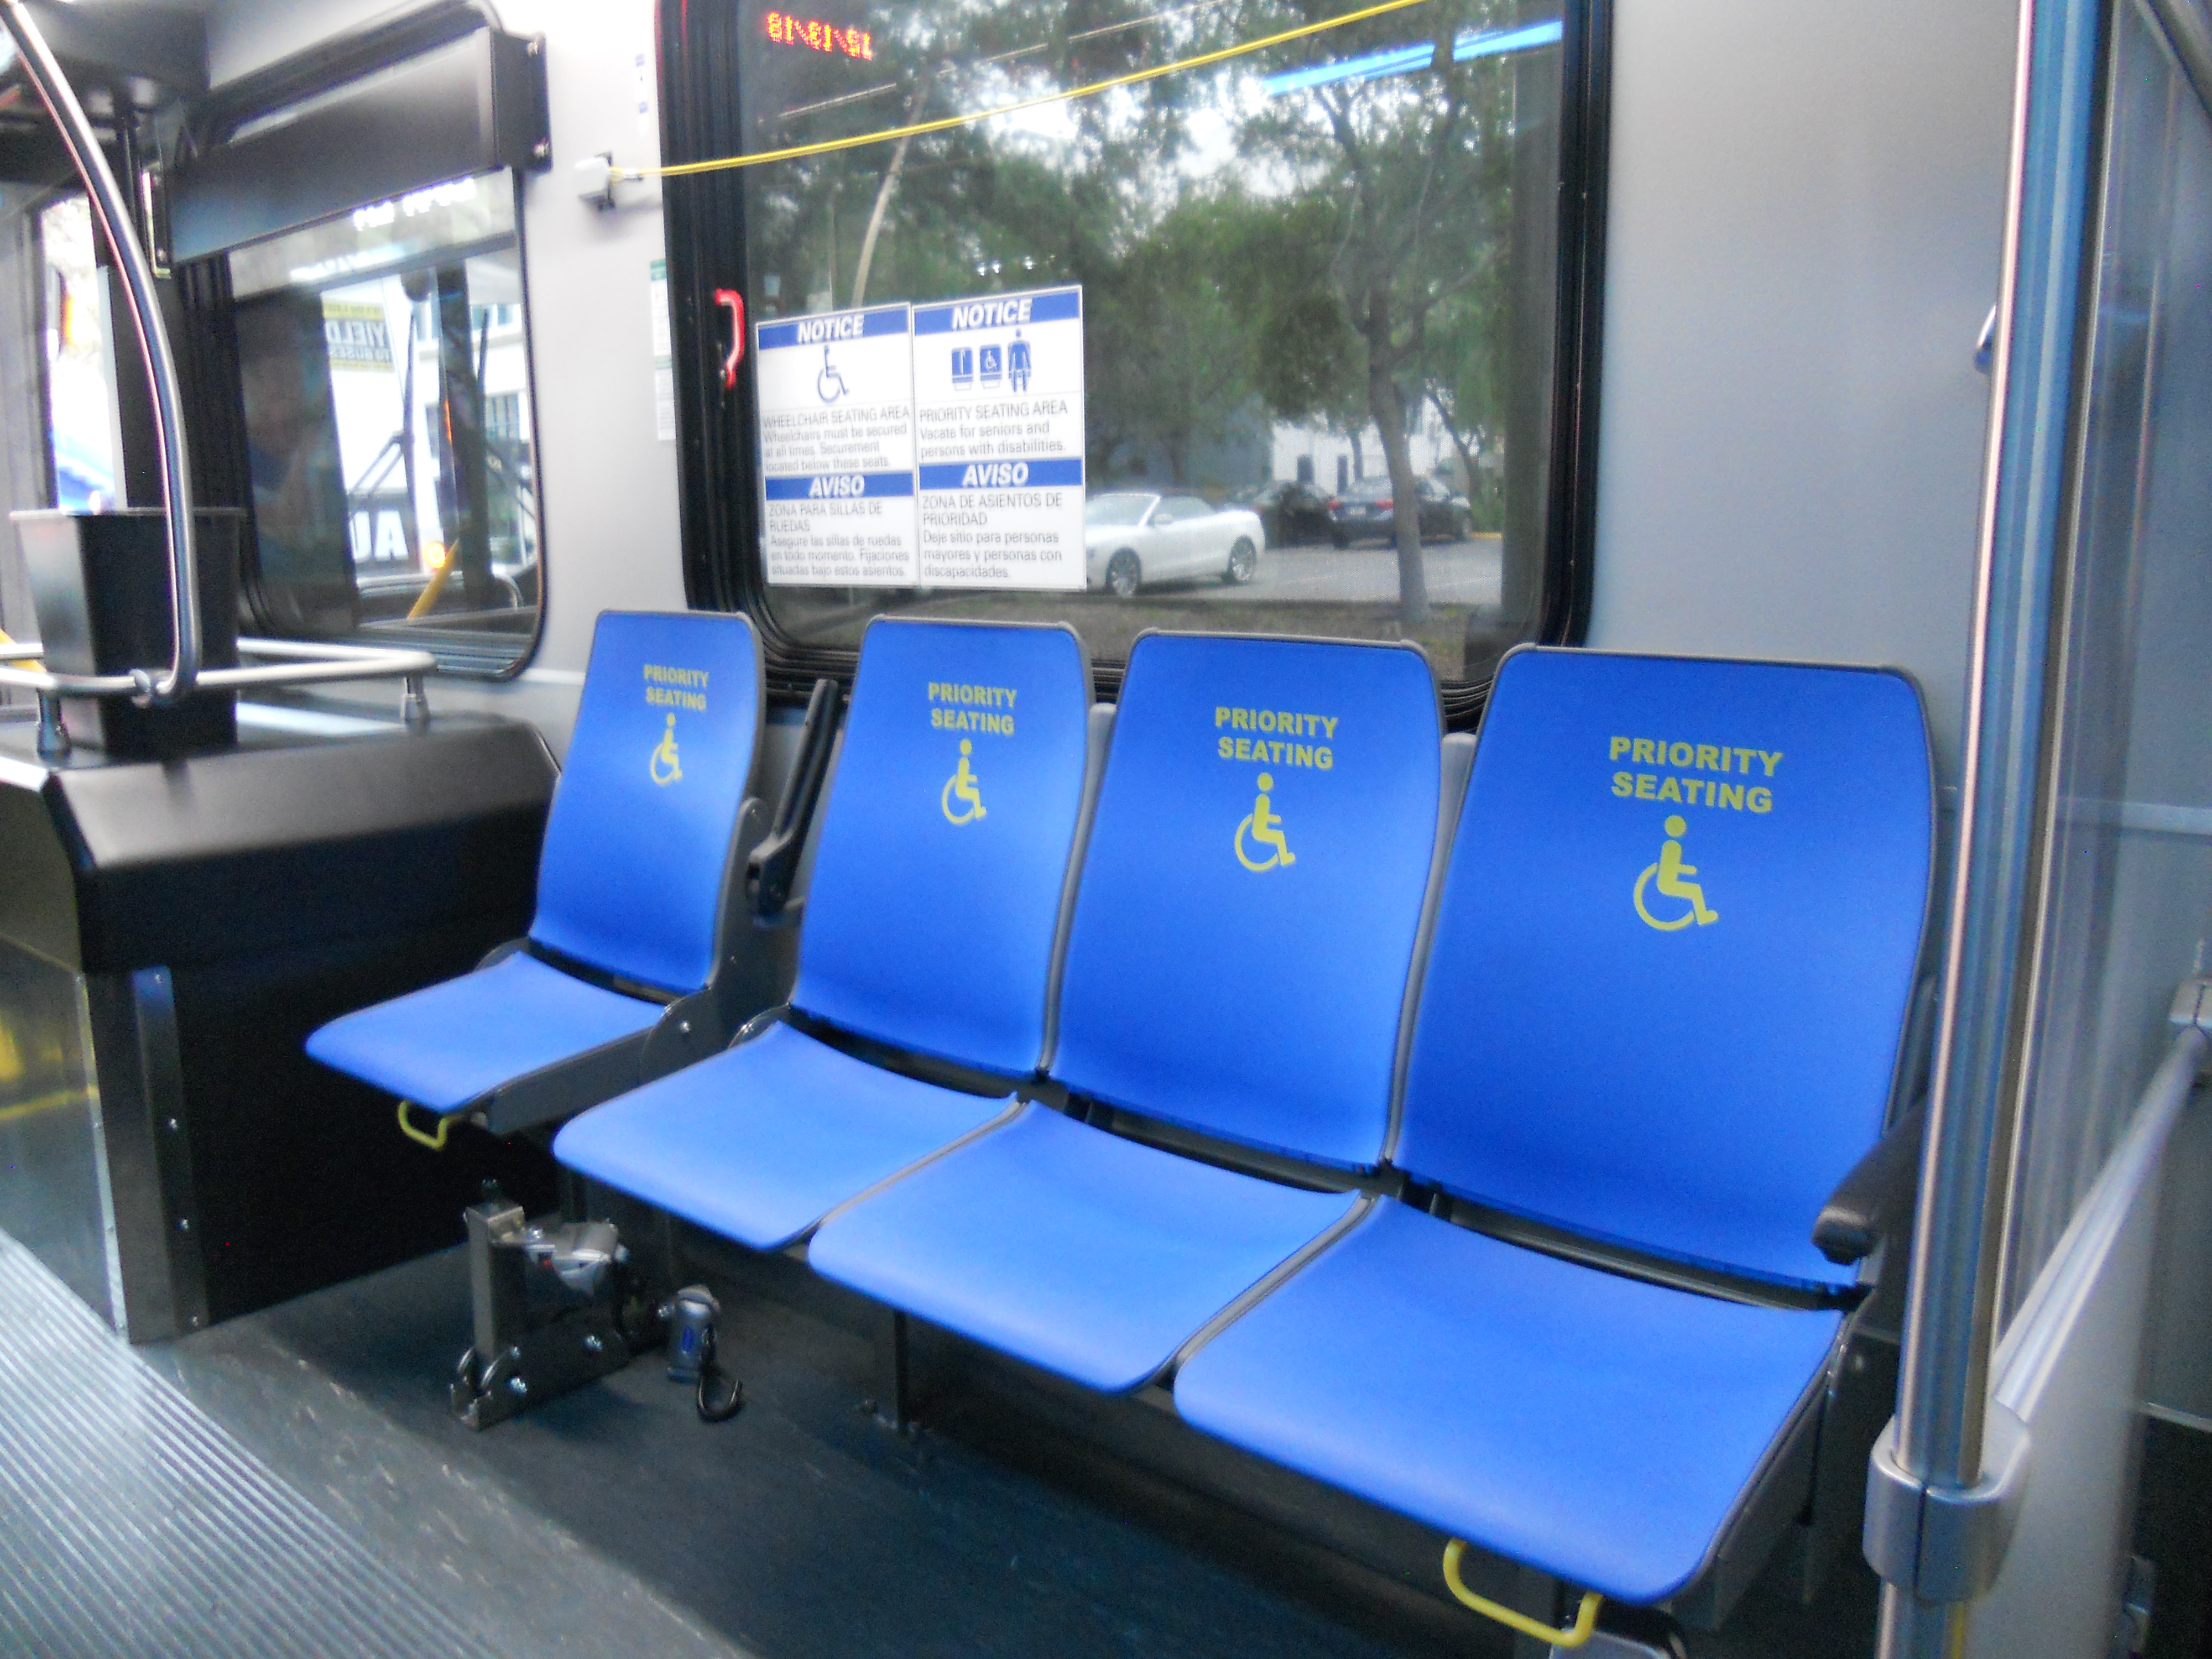
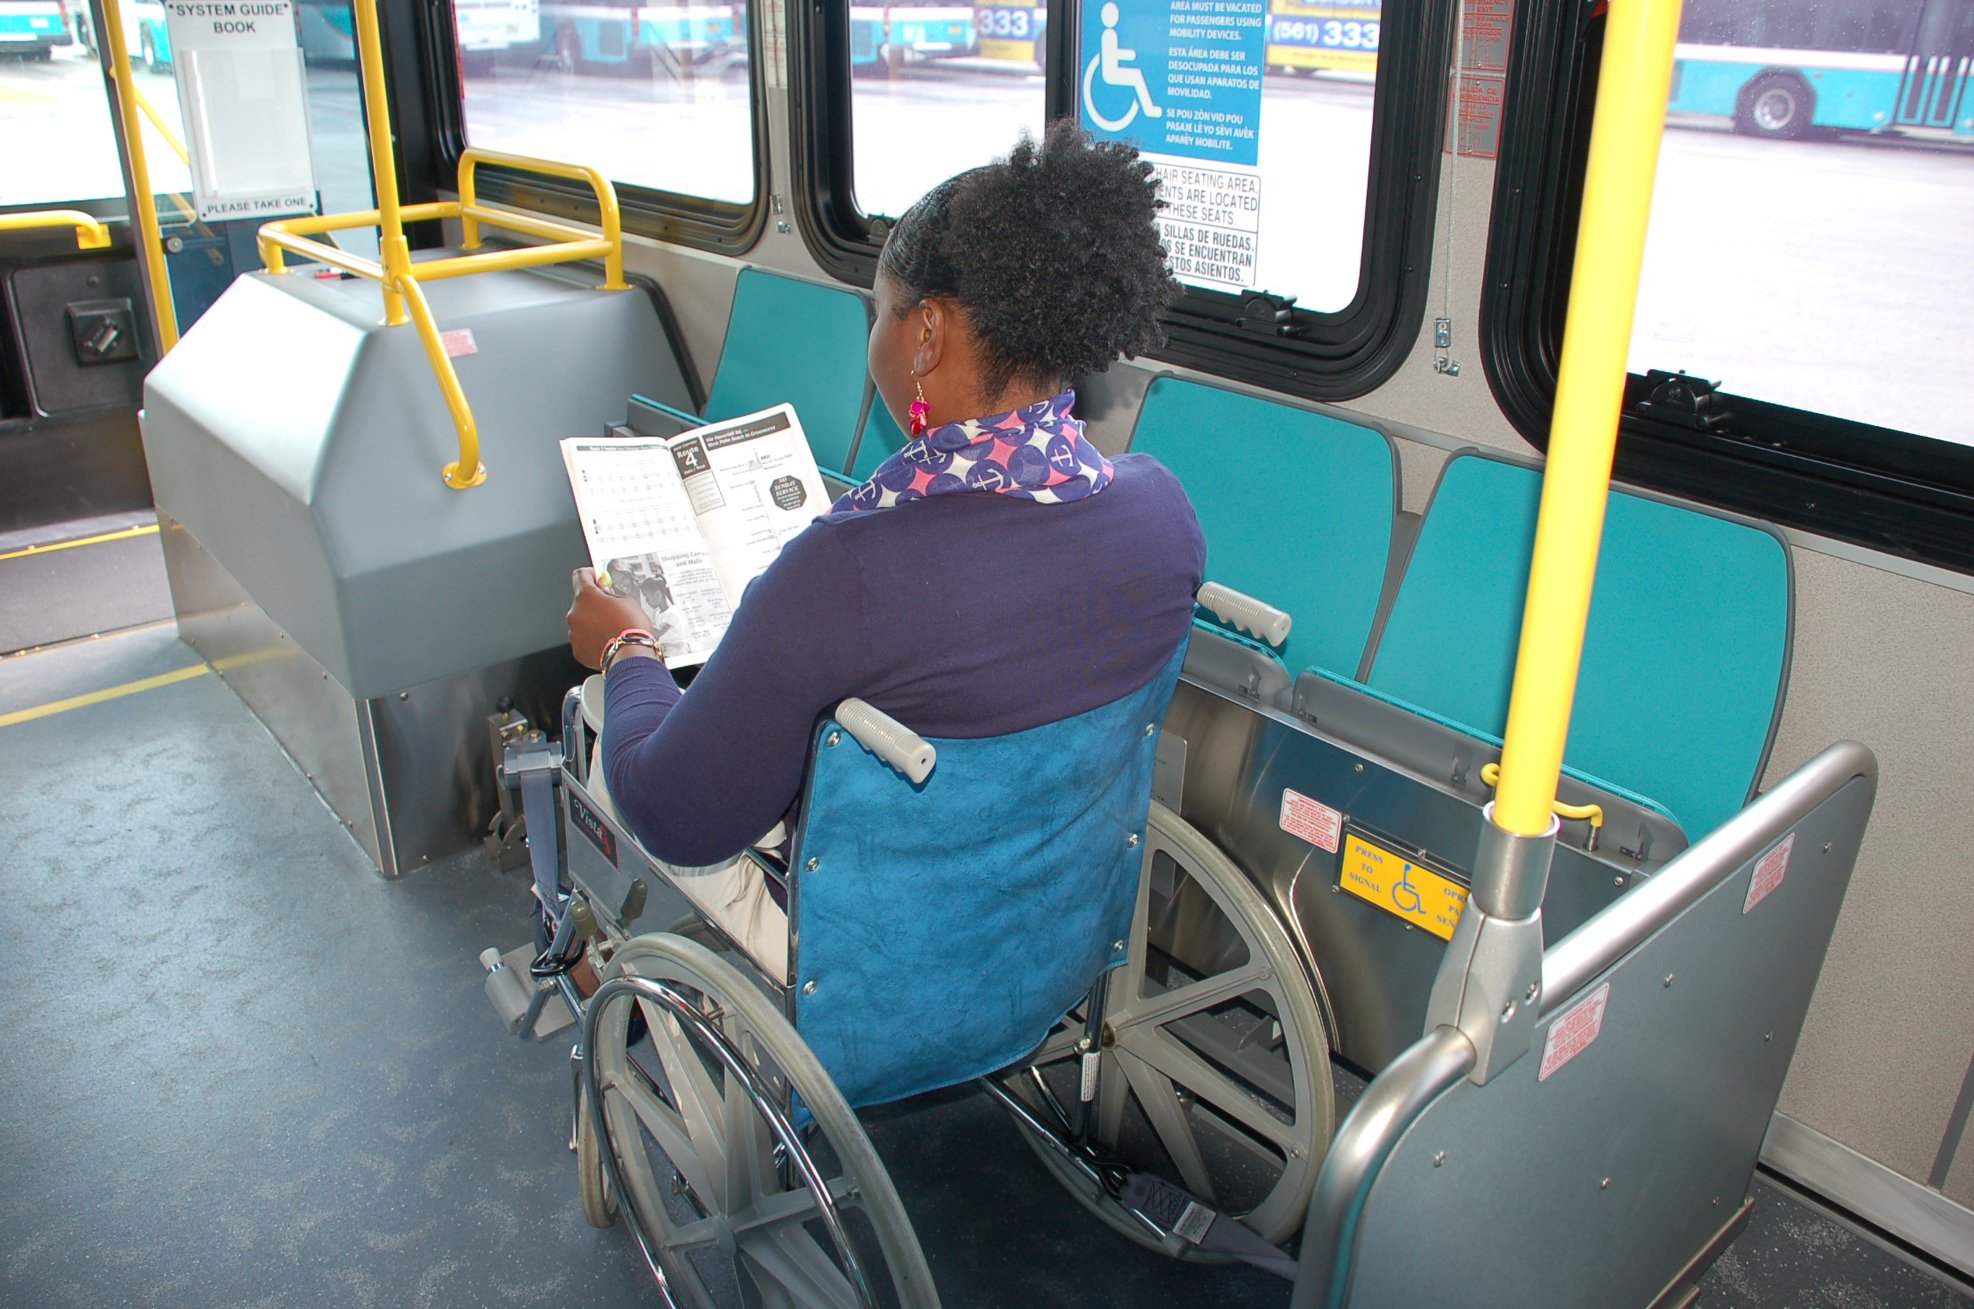
Pay your fare, locate an open seat & enjoy the ride! If you brought a bike on board, you may want to sit closer to the front of the bus so that you can keep an eye on your bike. Please keep in mind that the seats closest to the bus operator may be designated as Priority Seating, meaning that those using mobility aids (including wheelchairs), the elderly, & expectant mothers will have seating priority. You’ll want to offer these seats to the elderly & expectant mothers. If someone using a mobility aid boards, you may be asked by the bus operator to vacate your seat if you are seated in the Priority Seating area.
State & Federal guidelines require that all individuals using mobility devices – such as a wheelchair or an electric scooter chair/power chair – be properly secured via a four-point harness system. This system uses special harnesses to secure the mobility device so that it does not shift while the bus is in motion.
Some transit agencies now provide amenities on board buses – such as USB charging ports & complimentary WiFi. If you decide to use your mobile device to listen to music or watch a video, please use headphones, as loud volume can disturb others on board. Below is a listing of other general rules to follow while on board.
- Virtually all transit agencies forbid eating, drinking, & smoking on board the bus. Bottled water & infant formula are generally exceptions, but bottles must be closed when not in use.
- Solicitation of any kind is also forbidden on board all transit vehicles.
- Be courteous to your fellow riders & the bus operator by keeping conversations with other riders at a low volume. Please keep cell phone conversations at a low volume & to a minimum, & do not engage in unnecessary conversation with the bus operator – especially when the bus is in motion.
- Weapons of any kind are not allowed – unless your particular country, state, or province has a law passed allowing for such.
- Designated service animals are allowed on board to assist their respective owner. Some transit agencies may also allow small pets on board – given that they are properly secured in a carrier & not blocking aisles.
- Strollers & carts should be folded & secured so as to not block aisles. A few agencies (such as the New York MTA) are piloting designated stroller areas to allow parents to keep the stroller in the open position while seated.
- All customers should be properly dressed. Shirts, bottoms, & shoes are required.
- Standees should hold firmly onto the handrails or overhead straps located on the bus.
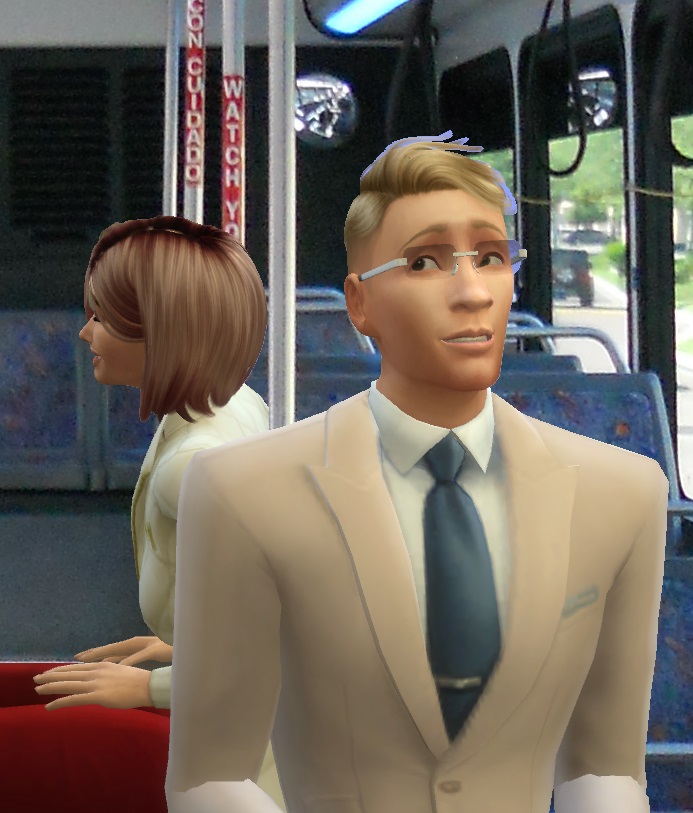
Image created by HARTride 2012 using The Sims 4 & Microsoft Paint.
Approaching your stop
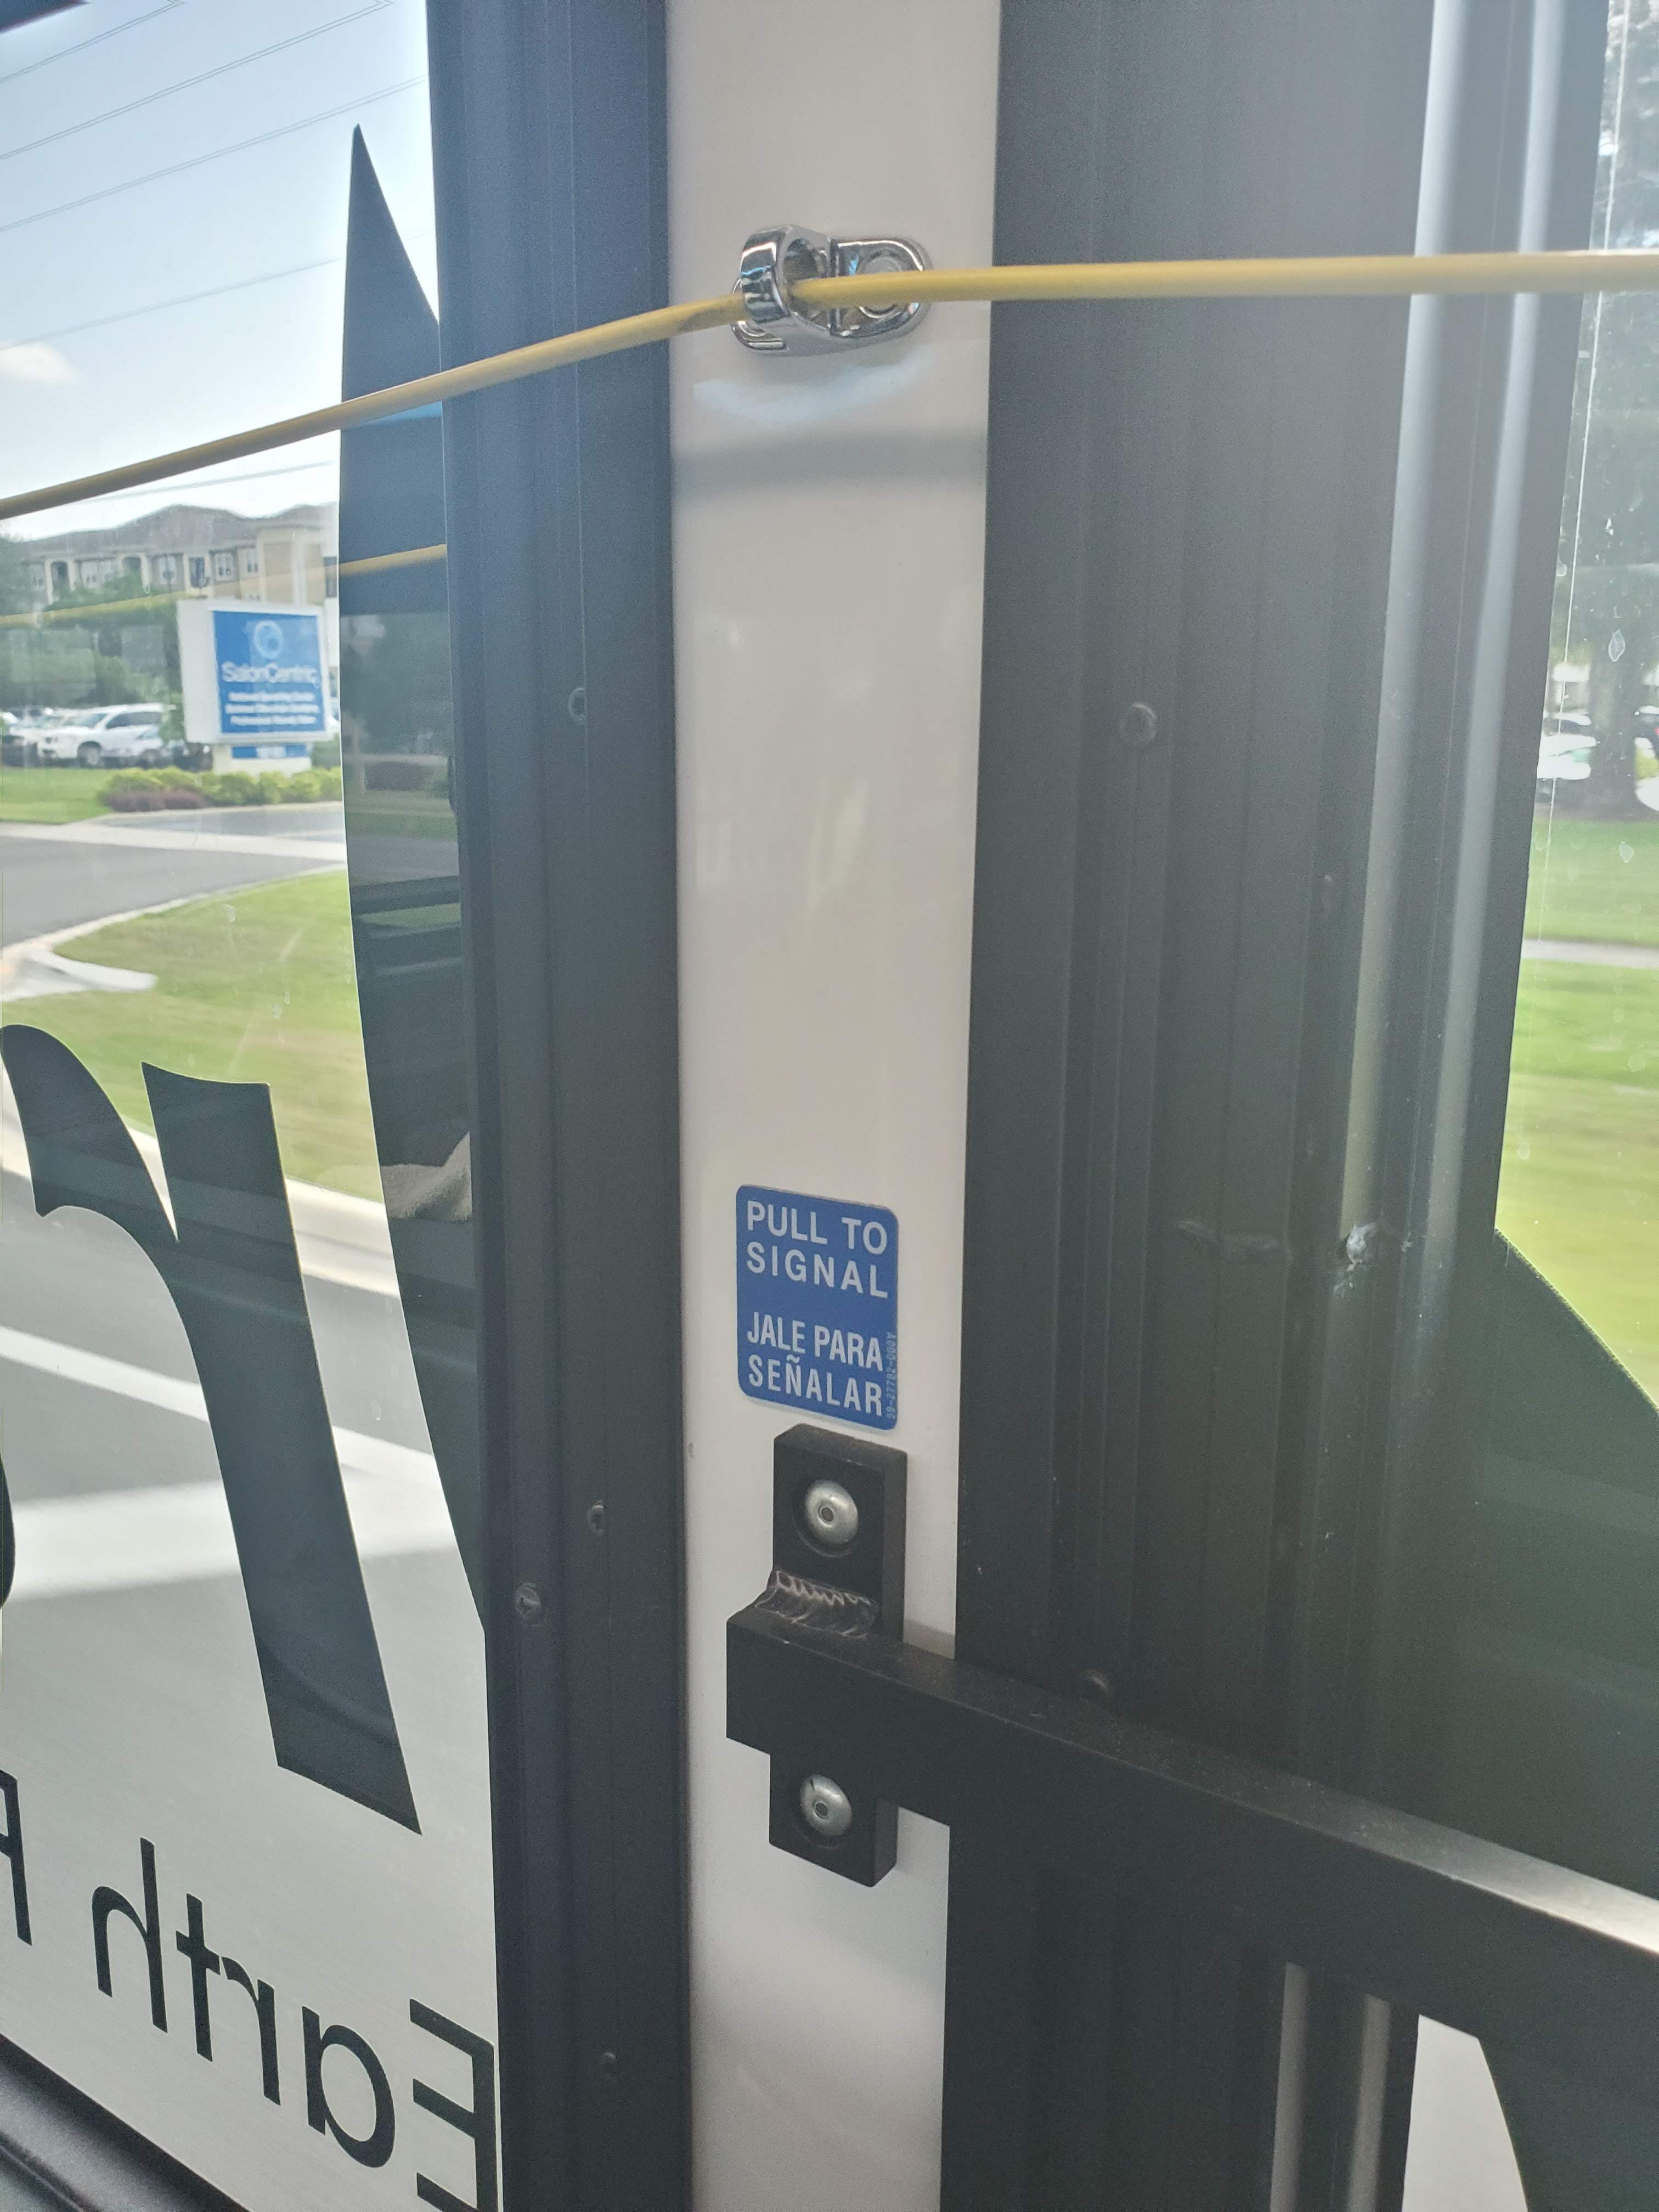
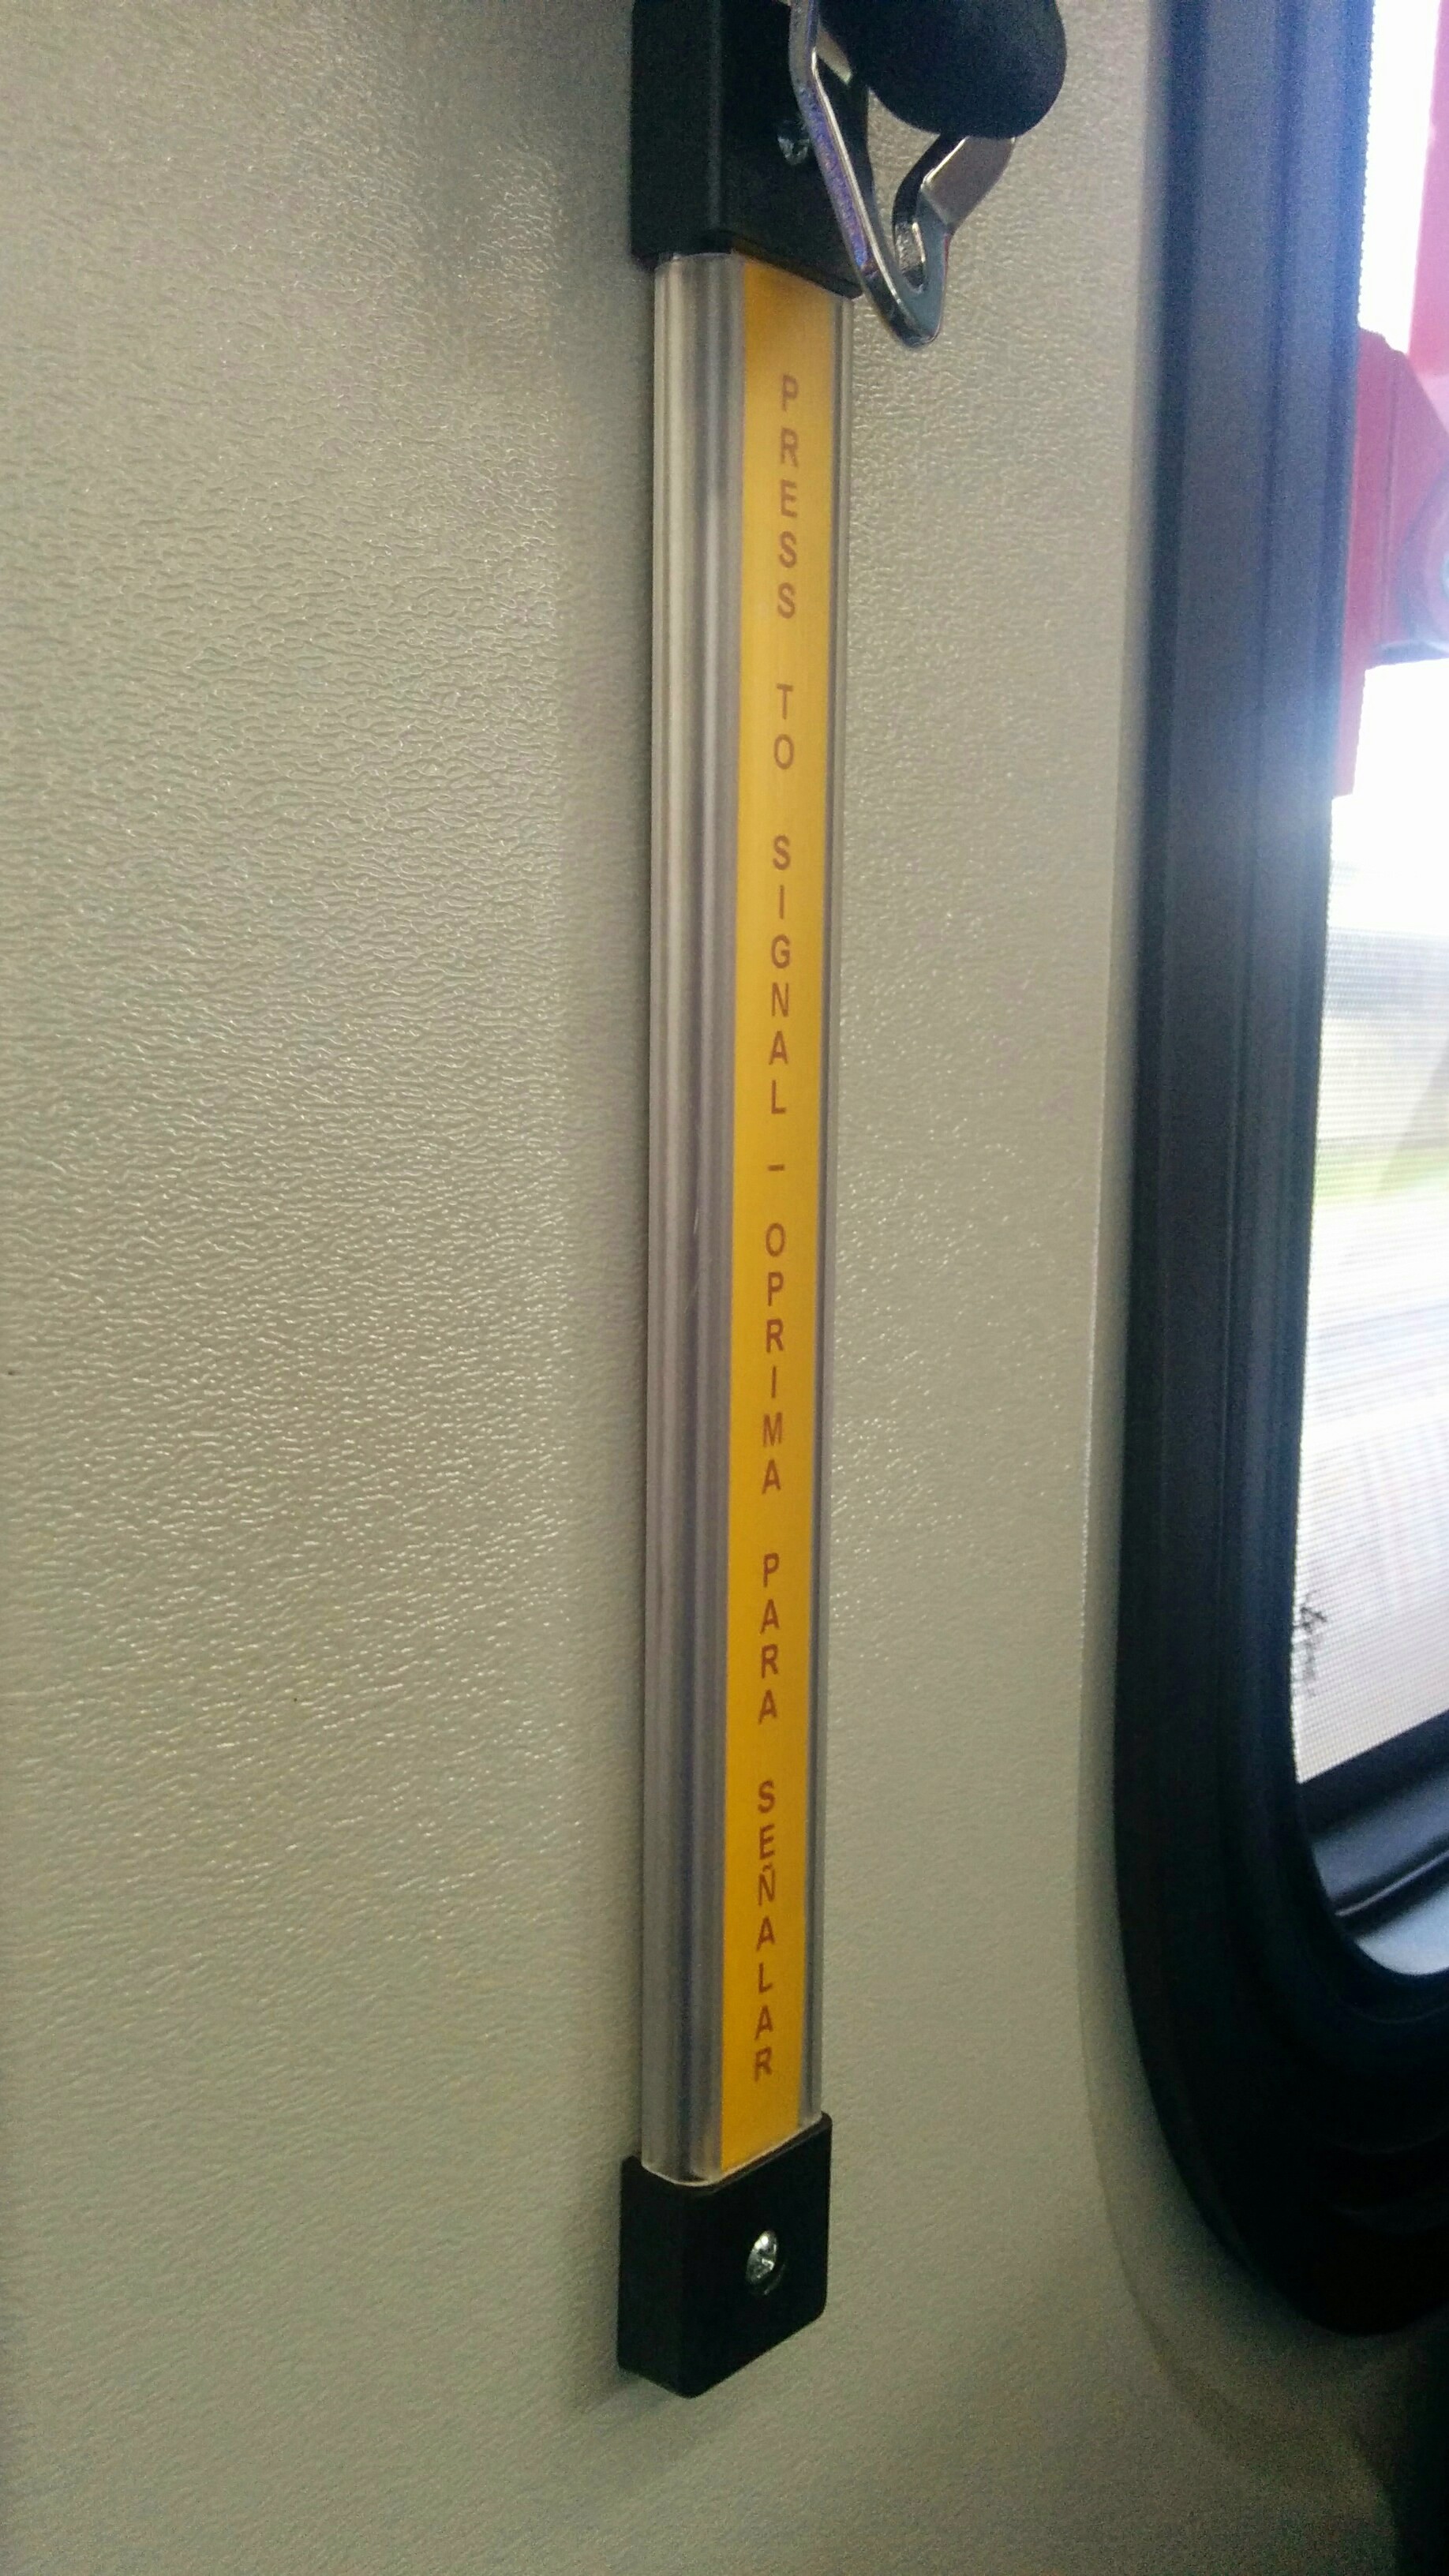
Since transit buses cannot stop as fast as most personal vehicles, it is very important to signal to the bus operator when you need to get off. Most transit vehicles will be equipped with a stop request system that involves either pulling a cord or pressing a button to signal to the operator that you need to get off at the next stop.
Please note that buses operating on a Bus Rapid Transit (BRT) line may not be equipped with a stop cord or button because the bus is supposed to serve all designated BRT stops. In these cases, you will need to listen carefully to on-board announcements & watch the corresponding on-board LCD screens (if available) to know when your stop is approaching.
Exiting the bus
If you’re able to, please try to exit the bus via the rear door – if there is one. If you need to retrieve your bike from the bike rack, please inform the operator & exit out the front door.
Never try to step in front of the bus unless you’re retrieving your bike, and never cross the street in front of or behind the bus. As much as possible, use designated crosswalks instead. If no crosswalk is available, wait for all traffic to clear before crossing – BUT BEWARE, some municipalities have strict jaywalking laws that by which you’ll be issued a hefty fine by law enforcement if they catch you, so once again…as much as possible, use designated crosswalks.
If exiting at a transit center or other transfer point by which buses pull up right behind another, parallel to the walkway/sidewalk, do not attempt to walk between buses, as the operator might not be able to see you. This is extremely dangerous!
Connect with the Global Transit Guidebook!
Be sure to bookmark: http://globaltransitguidebook.com

One thought on “Transit 101 – Episode 5 – Riding the bus”